Rainwater harvesting kits built for Bay Area rainfall
Price rainwater harvesting kits
Quantity, liquid and zip code is enough to get a real number back. We confirm grade and stock before we quote — no auto-replies.
A 1,000 sq ft San Francisco roof yields roughly 14,000 gallons of runoff per year — about one inch of rain producing 600 gallons. A single 275 gallon tote will fill in a moderate storm, so the practical questions are overflow routing and how many totes you link, not whether you will catch enough. Our kits ship with the diverter, screen, cover, overflow and tap already fitted.
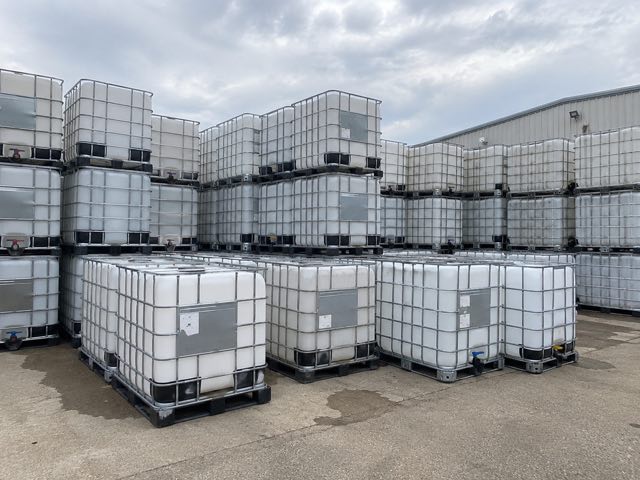
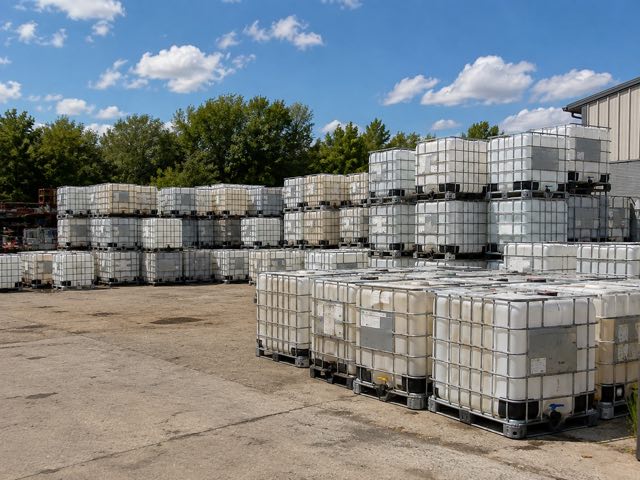
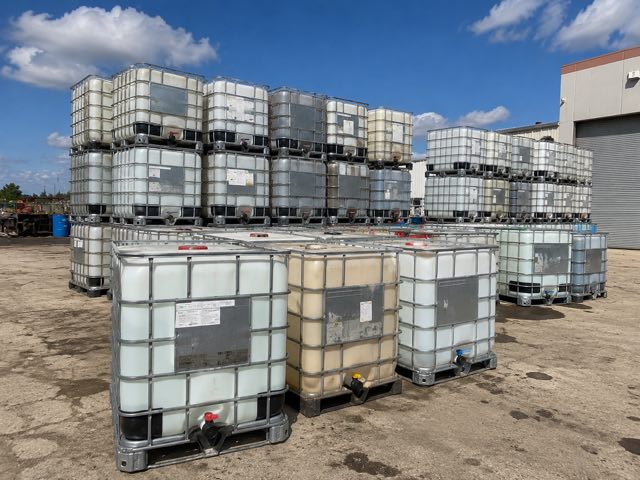
Kits and what is in the box
| Kit | Capacity | Includes | Suits roof area | Price |
|---|---|---|---|---|
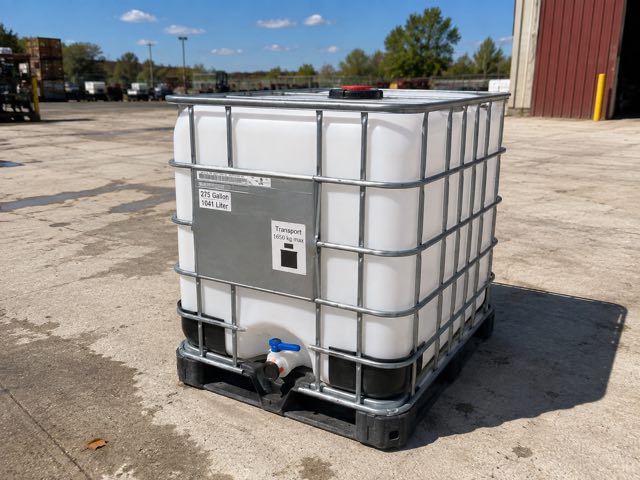
| Starter | 275 gal | Grade A tote, UV cover, leaf screen, 3/4 in tap, overflow elbow | Up to 500 sq ft | $265 |
| Standard | 275 gal | Starter plus first-flush diverter and downspout adapter | 500 – 900 sq ft | $345 |
| Linked pair | 550 gal | Two totes, linking kit, balanced draw, diverter, covers | 900 – 1,600 sq ft | $640 |
| Garden pressure | 275 gal | Standard plus 12 V pump, filter and hose kit | Any | $520 |
| Site / commercial | 1,100 gal+ | Four linked totes on a bunded steel frame, fabricated to your downspout layout | 2,000 sq ft+ | Quoted |
What we do to it first
Measure the catchment, not the tank
Roof area in square feet × 0.6 = gallons per inch of rain. A 1,200 sq ft roof yields about 720 gallons from a single inch, which is why one tote fills fast and overflow planning matters more than capacity.
Divert the first flush
The first few gallons off a roof carry dust, bird droppings, grit and whatever the last dry month deposited. A diverter dumps that before the clean water reaches the tank. It is the single biggest water-quality upgrade available.
Screen everything
A fine mesh screen at the inlet keeps leaves and mosquitoes out. In California, standing water without a screen is a mosquito-breeding issue and, in some jurisdictions, a code violation.
Route the overflow deliberately
Overflow will happen, probably during the biggest storm of the year. Route it to a drain, a swale or a rain garden — not against your foundation. We size and fit the overflow elbow for you.
Block the light
Translucent HDPE plus daylight plus nutrients equals algae within weeks. Every kit ships with a UV-opaque cover; siting the tank in shade helps but is not sufficient on its own.
What it will and will not hold
Everything in a rain kit is chosen for a container that will sit outdoors, in daylight, holding water with a nutrient load in it. That combination is what drives the specification more than the water itself.
| Contents | Verdict | Gasket | What decides it |
|---|---|---|---|
| Roof runoff, irrigation use | Yes | EPDM (standard) | What these kits are designed for |
| Edible garden irrigation | Yes, Grade A food-safe | EPDM (standard) | Drip at soil level rather than overhead spray |
| Toilet flushing and laundry | Permits required | EPDM (standard) | Indoor fixtures need backflow prevention and approval |
| Drinking water | Not without treatment | EPDM (standard) | The vessel is not the problem; the water is |
| Greywater from sinks | Different rules | EPDM (standard) | Greywater systems are regulated separately from rainwater |
| Metal, moss-treated or old shingle roofs | Caution | EPDM (standard) | First-flush diversion matters more, and so does what you grow |
Exactly what you receive
- A Grade A food-safe container, sanitised before dispatch
- A UV-opaque cover — fitted, not optional
- A fine mesh leaf and mosquito screen at the inlet
- A 3/4 in tap with a shut-off
- An overflow elbow, sized to the inlet
- A downspout adapter (Standard kit and above)
- A first-flush diverter (Standard kit and above)
- A written commissioning sheet and the sanitisation procedure
What you will need separately
- The stand or base — compacted gravel or a pad, level within an inch
- Guttering work on your building
- A pump, unless you order the Garden Pressure kit
- Winter drain-down inland, where a hard freeze is a real prospect
Ask before you order, not after
Five checks worth five minutes
Written from the problems that reach our returns desk, which is the only honest source for a list like this.
Size against the storm, not the year
Roof area × 0.6 = gallons per inch of rain. A 1,000 sq ft roof produces about 510 usable gallons from a single inch, so one 275 gallon tote fills and overflows in a moderate storm. Overflow routing matters more than capacity.
Prepare the base before delivery
A full 275 gallon container is 2,418 lb over 13 square feet. Compacted gravel, a concrete pad or a purpose-built stand — never soil, decking or pavers on sand.
Route the overflow somewhere useful
It will overflow, probably during the biggest storm of the year, at full downspout flow. A drain, a swale or a rain garden — never against a foundation. Size the overflow line at least as large as the inlet.
Raise it if you want gravity
A full tote gives about 1.37 psi at the outlet. Every foot of elevation adds 0.43 psi, which is the difference between a dribble and a usable hose flow.
Drain the diverter between storms
A first-flush diverter left full is a stagnant tube and a mosquito habitat. It is the one maintenance job in the whole system and it takes a minute.
Three mistakes we watch people make
Skipping the cover
Linking tanks with 3/4 inch fittings
Putting the container on soil
The commercial detail
Indicative 2026 yard pricing. Everything is quoted properly before anything moves, and freight is always itemised separately.
| Kit | Capacity | Suits roof area | Price | Includes |
|---|---|---|---|---|
| Starter | 275 gal | Up to 500 sq ft | $265 | Grade A tote, cover, screen, tap, overflow |
| Standard | 275 gal | 500 – 900 sq ft | $345 | Starter plus first-flush diverter and downspout adapter |
| Linked pair | 550 gal | 900 – 1,600 sq ft | $640 | Two totes, 2 in linking kit, isolation valves, diverter |
| Garden pressure | 275 gal | Any | $520 | Standard plus 12 V pump, filter and hose kit |
| Site / commercial | 1,100 gal + | 2,000 sq ft + | Quoted | Four linked totes on a bunded steel frame, fabricated to your downspouts |
| Grade B substitution | Any | Ornamental only | −$40 per unit | Non-food-safe container where the water is strictly for irrigation |
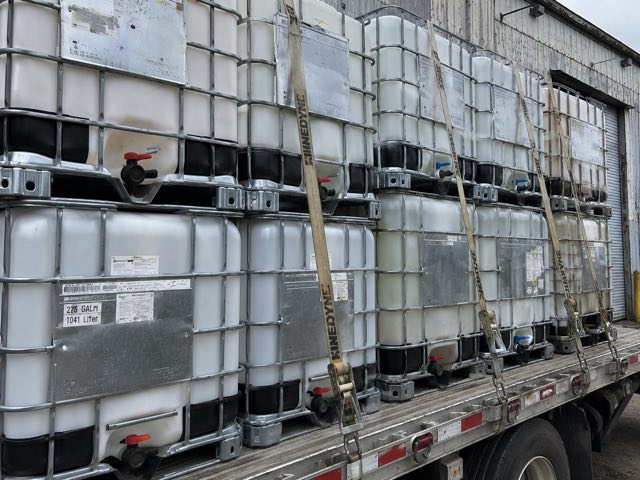
Rainwater Harvesting Kits: FAQ
Is rainwater harvesting legal in San Francisco?
Yes. California explicitly permits rooftop rainwater capture for non-potable use under the Rainwater Capture Act, and San Francisco actively encourages it — the SFPUC has run rebate programmes for cisterns. Rules tighten if you plumb harvested water into indoor fixtures or connect to the potable system, which requires permits and backflow prevention. Outdoor irrigation from a tote and a tap needs none of that.
How much water will I actually collect?
Multiply roof area in square feet by 0.6 to get gallons per inch of rain, then apply about 0.85 for losses. A 1,000 sq ft roof in a typical 23-inch San Francisco year yields roughly 11,700 usable gallons — enough to irrigate a substantial garden through the dry season if you have the storage to hold it, which is why linked totes are so popular here.
Can I drink it?
Not without treatment, and we do not sell these kits for potable use. Roof runoff carries particulates, bacteria and whatever is on your roofing material. For irrigation, washing and toilet flushing it is excellent. For drinking you need filtration and disinfection engineered for the purpose.
Will it freeze?
Rarely a problem in San Francisco proper, occasionally an issue inland toward Livermore and Sacramento. If you are somewhere that sees a hard freeze, drain the tap and lines in December or fit an insulated jacket from our accessories range.
How much water will a Bay Area roof actually give me?
Roof area in square feet × 0.6 = gallons per inch of rain, times about 0.85 for real losses. A 1,000 sq ft roof in a typical 23-inch San Francisco year gives roughly 11,700 usable gallons; Sonoma County at 34 inches gives about 17,300 from the same roof. The limiting factor is never the roof — it is storage and how fast you use it.
Is any of this legal without a permit?
Rooftop capture for non-potable use is explicitly permitted in California under the Rainwater Capture Act, and San Francisco has actively encouraged cisterns. A tank, a tap and a garden needs nothing. Permits and backflow prevention enter the picture only when harvested water is plumbed to indoor fixtures.
Can I add to the system later?
Yes, and most people do. The linking kit is designed so a second or third container bottom-links to the first with 2 inch camlocks and an isolation valve each. Level the whole run before you fill anything — linked tanks equalise, so uneven ground concentrates the weight on the low one.